Showing posts with label Food. Show all posts

Saturday, September 8, 2012

Cookie Dough Cupcake Goodness


It has been far too long since I shared a cupcake recipe. After posting this baby on Instagram, it quickly became the most requested recipe I have ever had. It deserved its own blog post and - as you can see - I anticipated that. After all, who doesn't love cookie dough? I personally cannot make cookies without taking bites of the dough...raw eggs or not. (Yes, I know, I know...) But in this recipe the "faux dough" as we will call it, does not have any eggs in it! Hurray for edible cookie dough.


Here are the ingredients you will need:

Chocolate Cupcake Ingredients
  • 1 (18.25 oz.) box Devil’s Food (or other chocolate variety) cake mix
  • 1 cup buttermilk
  • 1/2 cup vegetable or canola oil
  • 4 eggs
Peanut Butter Cookie Dough “Frosting” Ingredients:
  • 1/2 cup (1 stick) butter, room temperature
  • 1 1/2 cups peanut butter
  • 1 cup brown sugar, packed
  • 1/2 cup granulated sugar
  • 1/2 cup milk
  • 1 tsp. vanilla
  • 2 1/2 cups flour
  • 1/2 tsp. salt
  • 1 cup mini semisweet chocolate chips


Savannah was my happy helper while we made these...which means that she was happy to eat the chocolate chips while I made cupcakes. Love this girl so much!


Make your cake mix as usual, fill your liners 2/3 of the way full for normal cupcake size...I always fill mine a little bit more to make them fluffier on the top, but you won't get 2 dozen doing it this way. Bake at 350 for 15 to 20 minutes. While they are baking you can work on the best part...the frosting. Beat together butter and sugars until fluffy, then mix in peanut butter, vanilla, and milk. Stir in flour and salt by hand or on low speed. Extra milk can be added if the mixture seems to thick, but I did not have to do this. Stir in chocolate chips last and wha-la. Cookie dough that you can eat by the spoonful. Just don't forget to save some for your cupcakes!


To "frost" the cupcakes, I used an ice cream scoop and generously topped each cupcake. This recipe screams for a tall glass of milk, so make sure you grab some before you take a bite. Yum.


(*Credit for recipe goes to www.gimmiesomeoven.com. Great recipe source!)

Tuesday, February 28, 2012

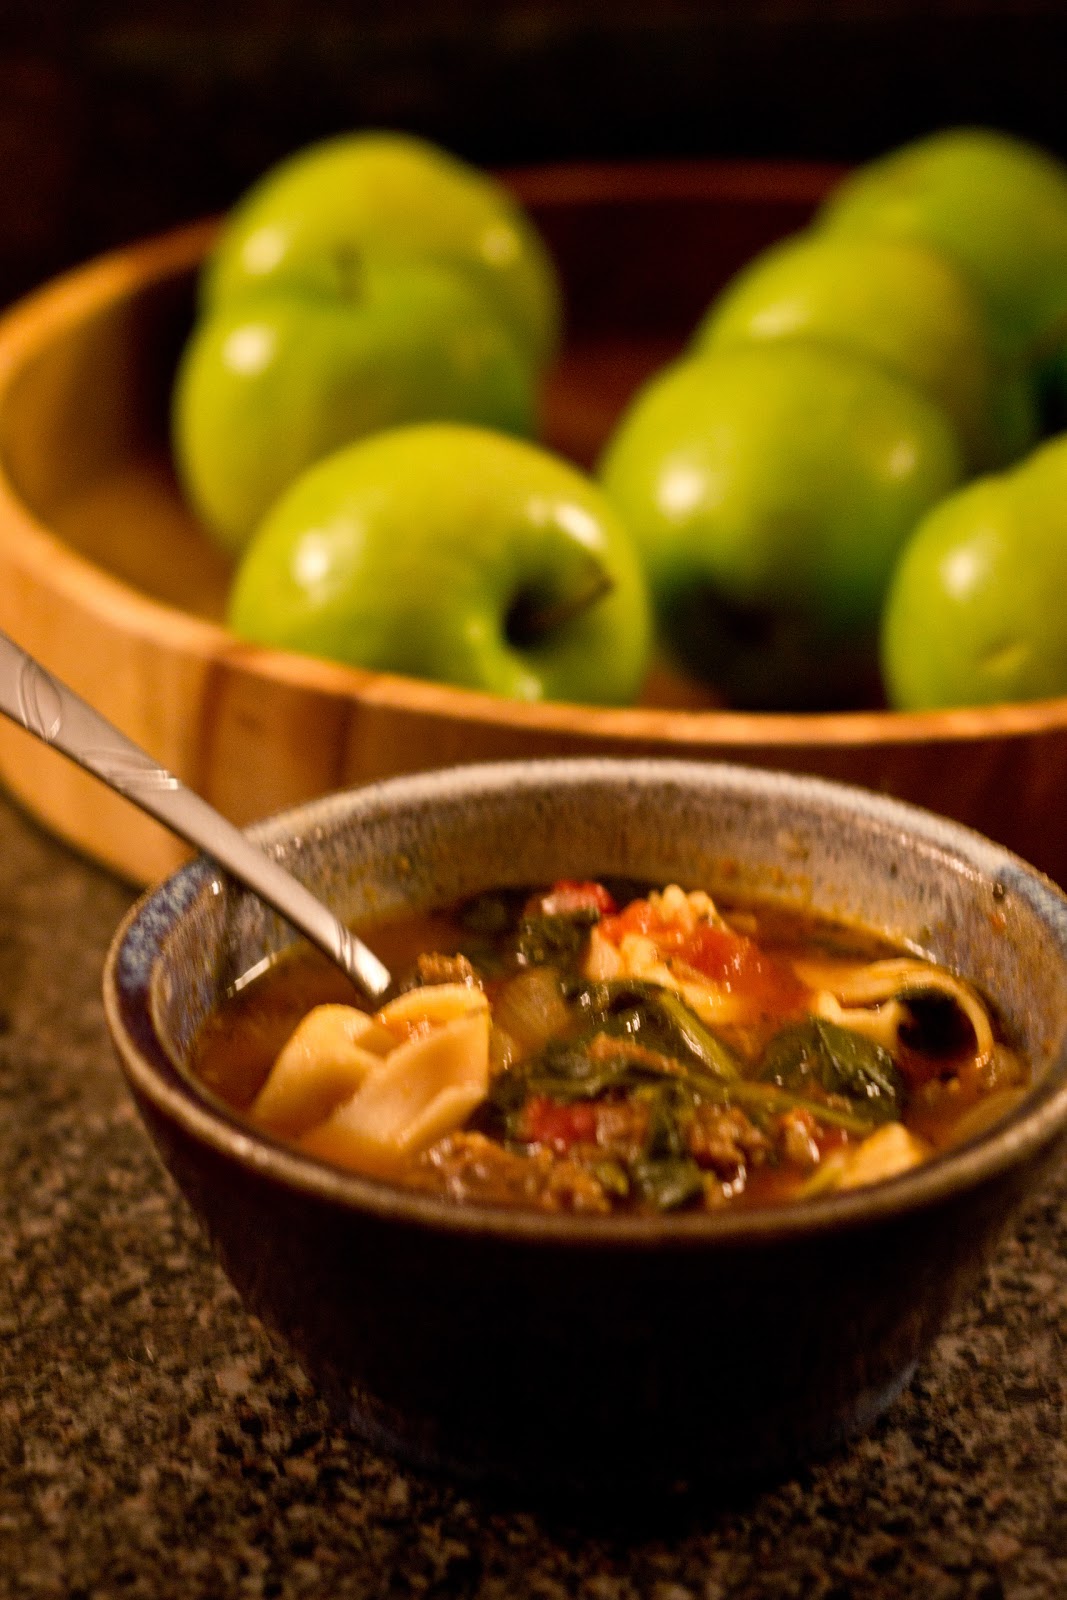
Rustic Italian Tortellini Soup


Every once in a while you discover a new recipe that is a keeper! I found this recipe a couple weeks ago and I have already made it twice. It is delicious and it isn't complicated at all - just my style. This recipe came from Taste of Home but I tweaked it to simplify it just a little bit more. (You can see the original recipe here.) To make this Rustic Italian Soup you will need the following ingredients:

1 lb ground sausage (Pork or Italian - whichever you prefer!)
1 medium onion chopped
Minced garlic (6 cloves) or substitute garlic powder to taste
28 ounces reduced sodium chicken broth
1 and 3/4 cups water
1 can diced tomatoes, undrained
1 9 oz package refrigerated cheese tortellini
1 package (6 oz) fresh baby spinach, coarsely chopped
3/4 teaspoon dried basil
1/4 teaspoon pepper
(Italian seasoning to taste if you use pork sausage and not Italian)


The first thing you will need to do is brown your sausage, onion, and garlic. I also added Italian seasoning since my family prefers pork sausage but I still wanted some of that yummy Italian flavor. (Note: if you're using fresh minced garlic add this after your meat is browned and cook it in for about a minute. I used garlic powder so I added it all at the same time.) While you're doing this people may start flocking to your kitchen because its smells amazing...


Once your meat is cooked through, add your chicken stock, water and tomatoes. Bring to a boil. Once the soup is boiling add your tortellini. Cook for just 7 to 9 minutes or until pasta is tender. Stir occasionally.


While you're waiting for your the pasta to cook you can start chopping your spinach. I love the spinach in this soup! After the pasta is tender add your spinach, basil, and pepper and cook for 2-3 minutes or until spinach is wilted.


That's all there is to it and this was one of the best soups I have ever made. It had so much flavor. I'm a sucker for anything with pasta! 


Because I was making this particular batch for a friend who just had a baby, I put it in a big basket with french bread, salad, and sparkling apple cider. A simple but flavorful meal.


This recipe definitely goes on my favorites list. Spring is right around the corner but there are bound to be a few more chilly nights perfect for a warm and hearty soup. I hope you love it as much as I do!


Friday, February 17, 2012

Three Ingredient Smoothie


It has been a while since I shared a smoothie recipe so I decided to start out this morning with a super simple one that is delicious. I like to make smoothies for breakfast but I get frustrated when I look at a recipe and there are ten ingredients. Breakfast shouldn't be complicated. If you feel the same, then this smoothie is perfect. All you need is milk, orange juice, and frozen fruit of your choice.


Simply blend 1/2 of milk, 1/2 cup of orange juice, and one cup of frozen fruit. I used a Dole blend of strawberries, peaches, and bananas. It was SO yummy! But if you have frozen strawberries on hand use those! You could throw in half of a fresh banana. You get the idea. This isn't a strict recipe. Just a simple way to make a smoothie with only three or four ingredients. Happy Friday!


Wednesday, February 8, 2012

Neapolitan Parfaits


As promised I am going to share the recipe for the parfaits I recently made. However, I'm not sure you call it a recipe when there aren't exact measurements or strict instructions. The fun thing about parfaits is that you can really do whatever you want - just layer your favorite ingredients! This combination is killer though. I got the idea from a black forest trifle (which is chocolate and cherries.) I decided to use strawberries, which my family prefers, and I made individual portions so that I could share them with my co-workers. I am calling these Neapolitan Parfaits since they are chocolate, vanilla, and strawberry.


I used brownie bites from the bakery section at the grocery store so that I wouldn't have to make a pan of brownies. I like to keep it simple. It could obviously be done either way. Using kitchen scissors, I cut the brownies into even small pieces and this served as the first layer. For the second layer I combined a large box of vanilla pudding made according to directions with a large tub of cool whip. (Leave a little bit of the cool whip un-mixed to top your parfaits.) After the pudding layer, I added a large spoonful of frozen sweetened strawberries (which were thawed of course.) Then I repeated all three layers once more! I topped them with a dollop of cool whip and mini chocolate chips.


As you can see I look super glamorous when I work in the kitchen...lol. I had to post this picture to show off the apron that my Mom got me for Christmas. I love it.  To finish my parfaits, just for Valentines, I also made each parfait a heart out of pink candy melts (find these at a craft store or in a good baking section.) If you cant find the pink melts you could always use white almond bark and add just a tiny drop of food coloring to make it pink - or any color you choose!


I melted the candy, put it in a pastry bag and piped hearts out on to a plate. After freezing for just a few minutes they are hardened and can easily be removed from the plate. (Don't try to do this immediately after taking them out of the freezer or they will break. Wait just a couple of minutes.)


Once it all comes together they look so good, and of course, taste great too. I enjoy desserts like this that aren't so extremely rich. Pudding is definitely under-rated! Be creative and try new ingredients! Please comment and let me know if you come up with a your own delicious combination.


Wednesday, February 1, 2012

How Sweet It Is


One of the best things about February are the sweets that come with it. I've always felt that food is a wonderful gift...especially on the heels of Christmas when, lets be honest, most of us have just received all of the presents that were on our wishlist. So how about a mini sweets bar for your sweetie, best friend, family, or co-workers?


It looks pretty...and tastes good. I know I've mentioned it before but I love photographing food! I think I would truly love to be a food stylist...and yes that is a thing! What a fun job.


These parfaits are my own little creation and they are super yummy. I'll be blogging the recipe later this week, but for now I just wanted to make your mouth water.


And don't forget all of the forms that chocolate comes in! Hot chocolate is perfect in the chill of February (*even though the weather seems to be slightly confused right now...) To make a mug of hot chocolate extra special just add some of these adorable marshmallows which you can only get around Valentines Day!


Pile some of these in a mug full of cocoa and take it to someone special. (Or go ahead and enjoy it yourself!) Also, my kids (and I...) really love snacking on these too - and marshmallows are fat free so they must be healthy... (ha)


A sweets bar doesn't have to be elaborate. A couple of bakes goodies and candy looks elaborate.


Iced home-made sugar cookies are a simple classic. (I got the cookie cutters in the $1 spot at Target.)


I also made these cupcake bites which were really fun to make but definitely for special occasions as they are a little bit time-consuming. If you've ever made cake pops, this is the same concept.


Are they cute or what? I got the recipe and instructions for these on one of my favorite blogs - Bakerella. I thought instead of trying to explain it all myself I would just link you to her amazing site. To make these just follow this link (and be sure to check the rest of her goodies while you're there!)


Mine didn't turn out perfectly, but it was my first time, so its a learning process. They taste amazing!


Don't you love how everything changes with time? Even candy conversation hearts now include phrases like "Sup Babe?" and my new favorite - LOL. Love it.


Thank you so much for checking out this post. I know Valentines Day is a couple of weeks away, but I wanted to share early just in case anyone needed some inspiration.  To all of my blog readers, I love that you take the time to come to my site on a regular basis! I just want to say...


Tuesday, January 17, 2012

(Almost) Too Cute to Eat


Over Christmas my sister and I made these absolutely adorable little penguin appetizers. I found these little guys on a blog that I follow and just fell in love with them. I thought I would share them because they would still make a cute snack for winter days. If you have kids who are not picky eaters then they will love these. 

I have recently adopted some new foods to the list of things I like. Black olives is one of those! I am always re-trying things that I did not like before because I know that my tastes change, and suddenly olives have started tasting really yummy to me - another reason this idea caught my eye! Here's what you need: One jar large pitted olives, one jar jumbo pitted olives, cream cheese, (I used the chives flavor just to add a little something extra) carrot chips, and toothpicks. Meghan helped me out with this because although its really simple it was a little bit time consuming!


To make the penguins, cut one jumbo olive in half lengthwise and stuff with cream cheese. Slide on toothpick and top with one whole large olive. For the feet, simply cut a V shape out of each carrot shape and put at bottom of the toothpick. Then, use the V as the penguins beak! (Stick on with cream cheese.)


We set these on our Christmas table for a pre-dinner snack. None of them were exactly the same. They weren't perfect. I just thought they were so fun, and they were yummy.
 

With the supplies we had, we could have made even more, but we stopped once the plate was full.


Thanks to my sister for helping me to create this fun winter snack!


Friday, January 6, 2012

Snack of the Day - Frozen Dipped Fruit


As I mentioned in my resolutions post, I want to add more fruits and veggies into my diet. I have been looking online for a few fun ways to do this. I found a couple of ways to dress up frozen fruit and make them a real treat. The first is frozen chocolate covered banana bites! I chopped up a banana and dipped it in a melted chocolate mixture.


I used a cup of chocolate chips, a tablespoon of shortening (this helps your chocolate to set,) and a heaping tablespoon of peanut butter. Yum! Melt in the microwave for one minute, stir, and repeat at 20 second increments as needed until smooth. (Usually 1 minute 20 seconds is enough for just a cup.)  With this mixture you will have enough for about 2 bananas. I dipped the banana and then sprinkled with coconut. (The coconut and peanut butter could also be omitted if you're counting calories!) Place on wax paper and freeze for a few hours.


These are SO yummy and when I'm craving a bite of something sweet they're convenient. In the month of December it seemed I was constantly dipping things that consisted of powdered sugar and butter, or Oreos and cream cheese. Its nice to know that the inside of this is something that's better for me. I put the bites in ziplock bags and put them in the freezer to snack on whenever that sweet craving hits me.


I also "dipped" some cut strawberries in vanilla Greek yogurt and froze them! I saw this idea on another blog but the dipping didn't really work for me since yogurt is thick. I placed the strawberries in a container, covered them with a spoonful of yogurt, and then froze the strawberries in the container. They are great and my kids love them too! I think you'll find these are a refreshing change from sugar cookies and peanut butter balls that will keep you from going into withdraw. Happy Snacking!